Basic Usage Scenario
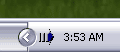
1. Make sure the Proxy Switcher is running - you should see a similar icon in the tray.
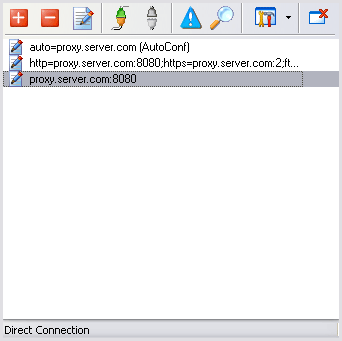
2. The following window will pop-up when you click the icon. The proxy list will be empty if you have not configured any servers yet.
3. The next thing you should do is to add some configurations you wish to switch between. Click "+" button in the toolbar to add a new proxy server. The following window will pop-up.
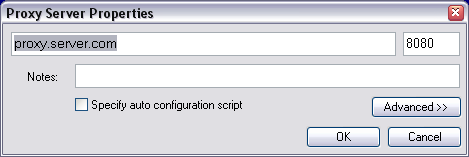
4. The first edit box requires to enter host name or IP address of the proxy server. The second edit box requires a port number (1-65535) of the target proxy server. After that click the 'Ok' button, the data you have entered will be saved.
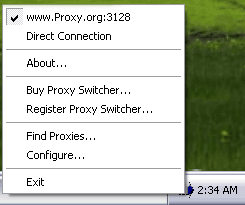
5. After that when you right-click the icon in the tray the menu will pop-up which will contain proxy server configurations you have added to the list.
6. By clicking the menu item connection settings will be instantly applied.
Visit Website